Since I didn't want yet another laptop to start breaking up on me, I'd known before I even bought my current laptop that I wanted to build a box for it. So within days of receiving my laptop, I built myself a box, custom-sized for my brand new laptop:
 I'd spent the previous few weeks keeping an eye out in trash piles for just the right type of particle board to use. I didn't want it to be too thick, but I wanted it to be strong enough to sit on. You see, the benches at Bridgehead are a couple too inches to comfortably use for typing or writing, and I'd wanted to build myself a laptop box to serve this alternate purpose. Knowing I'd be buying a new laptop soon, with different dimensions, I had to wait until I'd bought (and received) the new one. The old laptop was already busted, so why bother trying to protect it with a box?
 I didn't take any photos of the initial construction, but it was almost entirely used materials, including these antique hinges from a cabinet door somebody was throwing out. The side pieces were cut from IKEA Lade bed boards (featured in the 90-minute glove rack) sliced down the middle. While attractive, functional, and perfectly sized, the hinges were a bit loose, especially since they were going in the end of the particle board. I glued the screws in to keep them tight:
 The finish on the board I'd chosen had some water damage in some places and was peeling, but there was enough undamaged wood to use for the box.
 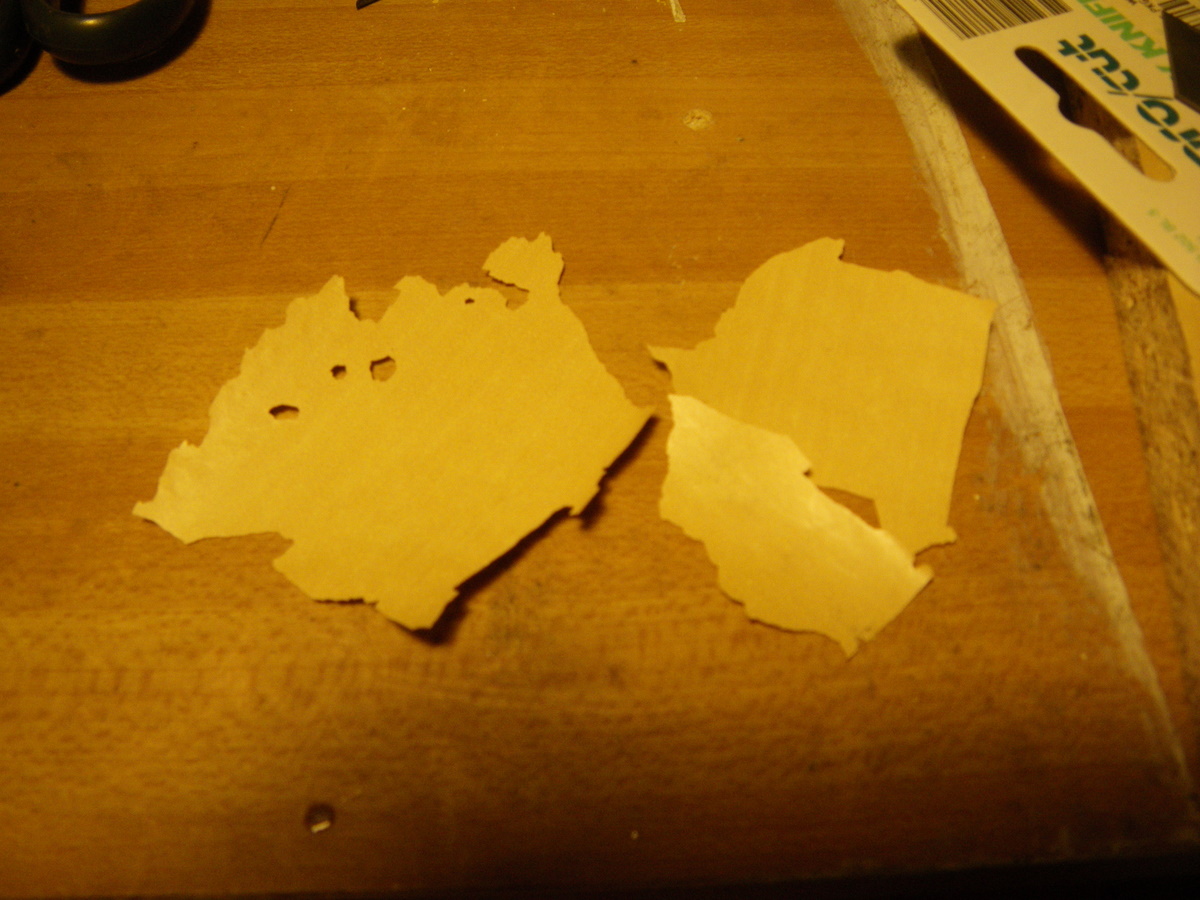 This was a feature, not a bug, as I was able to use it to veneer the ends of the side boards.
 The box was quite oversized for my panniers, threatening to rip them open, but inspiring further creativity in its repair (my 15" screen was a size or two too big with the box wrapped around it).
 To economize on space, I cut a notch out of one of the side boards for the laptop's protruding battery case to slim down the box's profile. I also, unfortunately, had to angle the top ends of the side boards, cutting off the DIY veneer in the process. You'll also notice a little metal plug next to this notch (the kind used for adjustable shelving units), which keeps the top aligned and thus solves the loose hing e problem.
 In addition to a laptop protective box and a booster seat, the box serves many other purposes. It provides a hard flat surface to rest your drink when lounging on a couch, a writing surface, and, shown here, a laptop lifter to bring the screen to a more comfortable viewing height when, say, watching videos of the masturbating Santa Claus:
 A few months later, I calculated that a well-placed 1/2" hole...
 ...lets me plug in the laptop to charge it while still in its box.
 It's the laptop box!
 Want your own? Want the plans? Too bad. Figure it out and make your own fucking box!
- RG>
2 comments:
*likes*
You're both brilliant and inspiring. Have you ever thought of marketing some of your inventions?
Post a Comment